
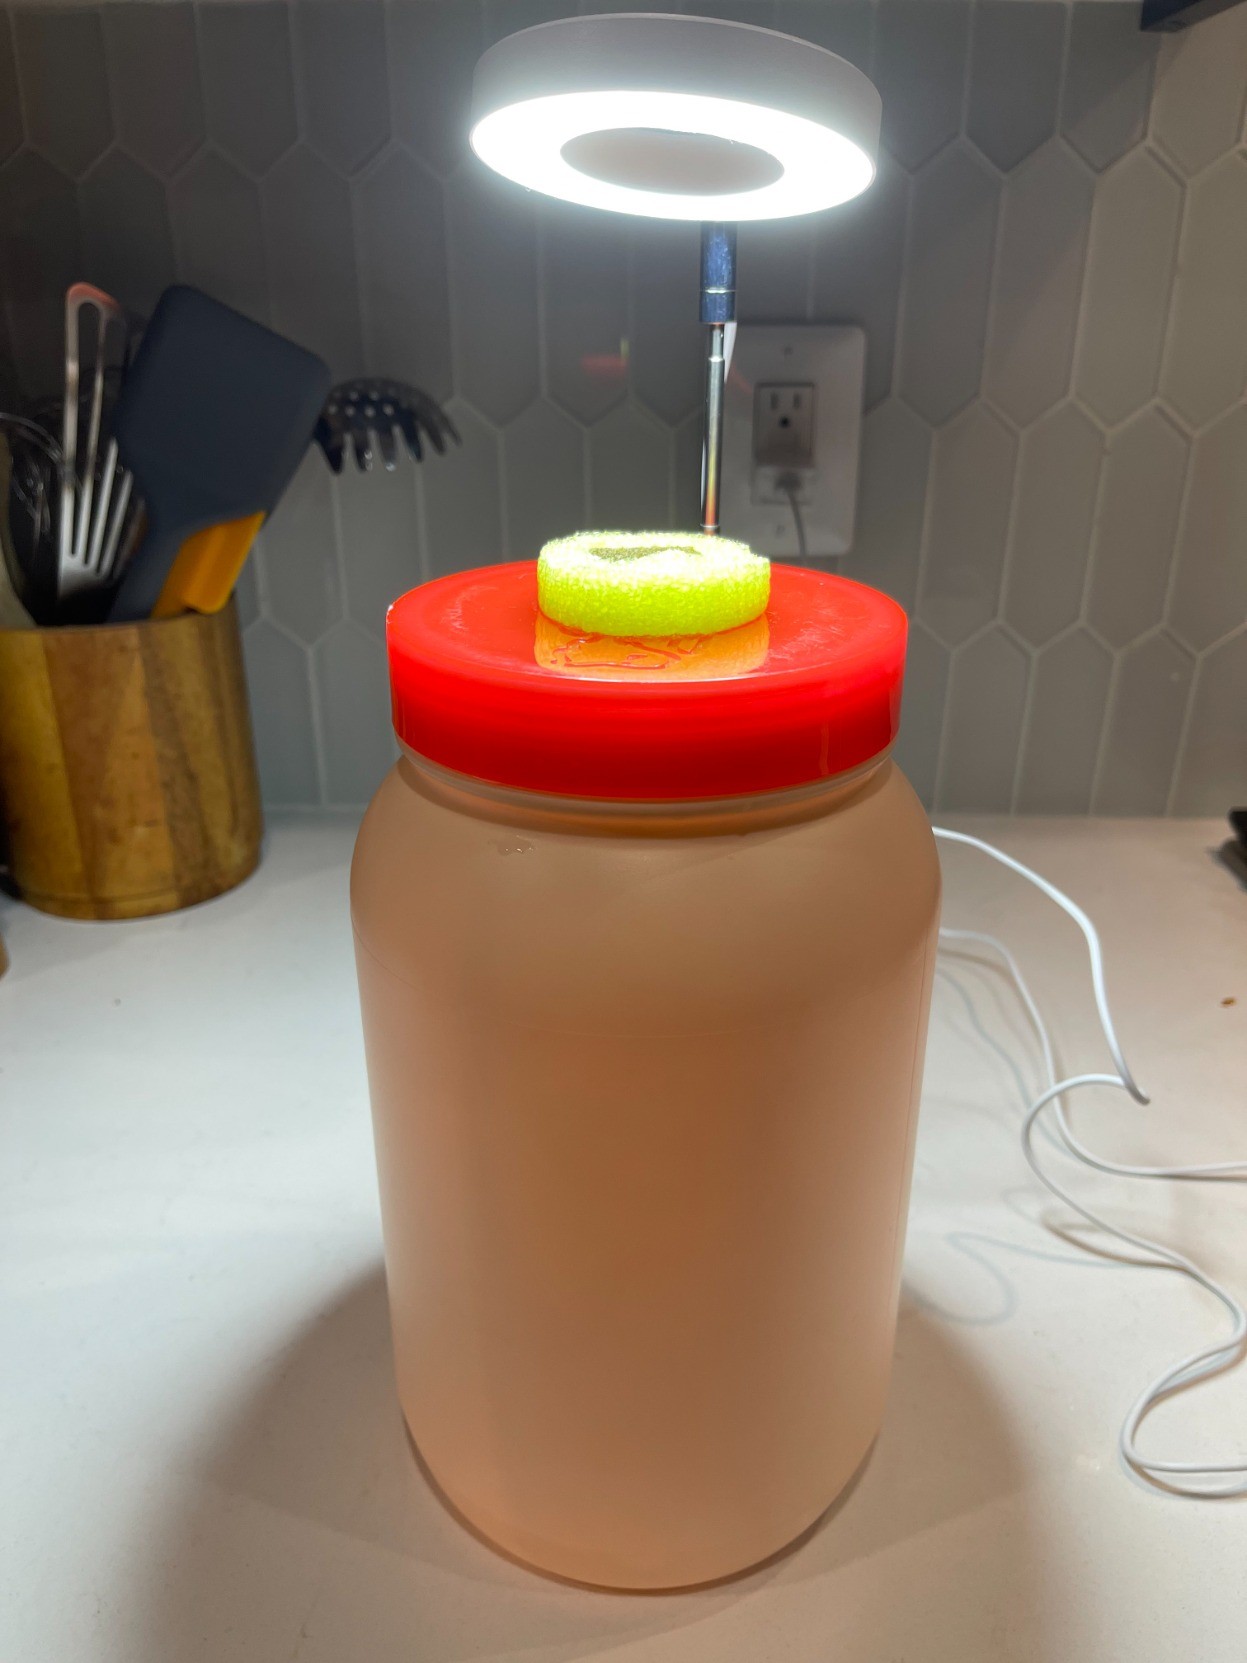
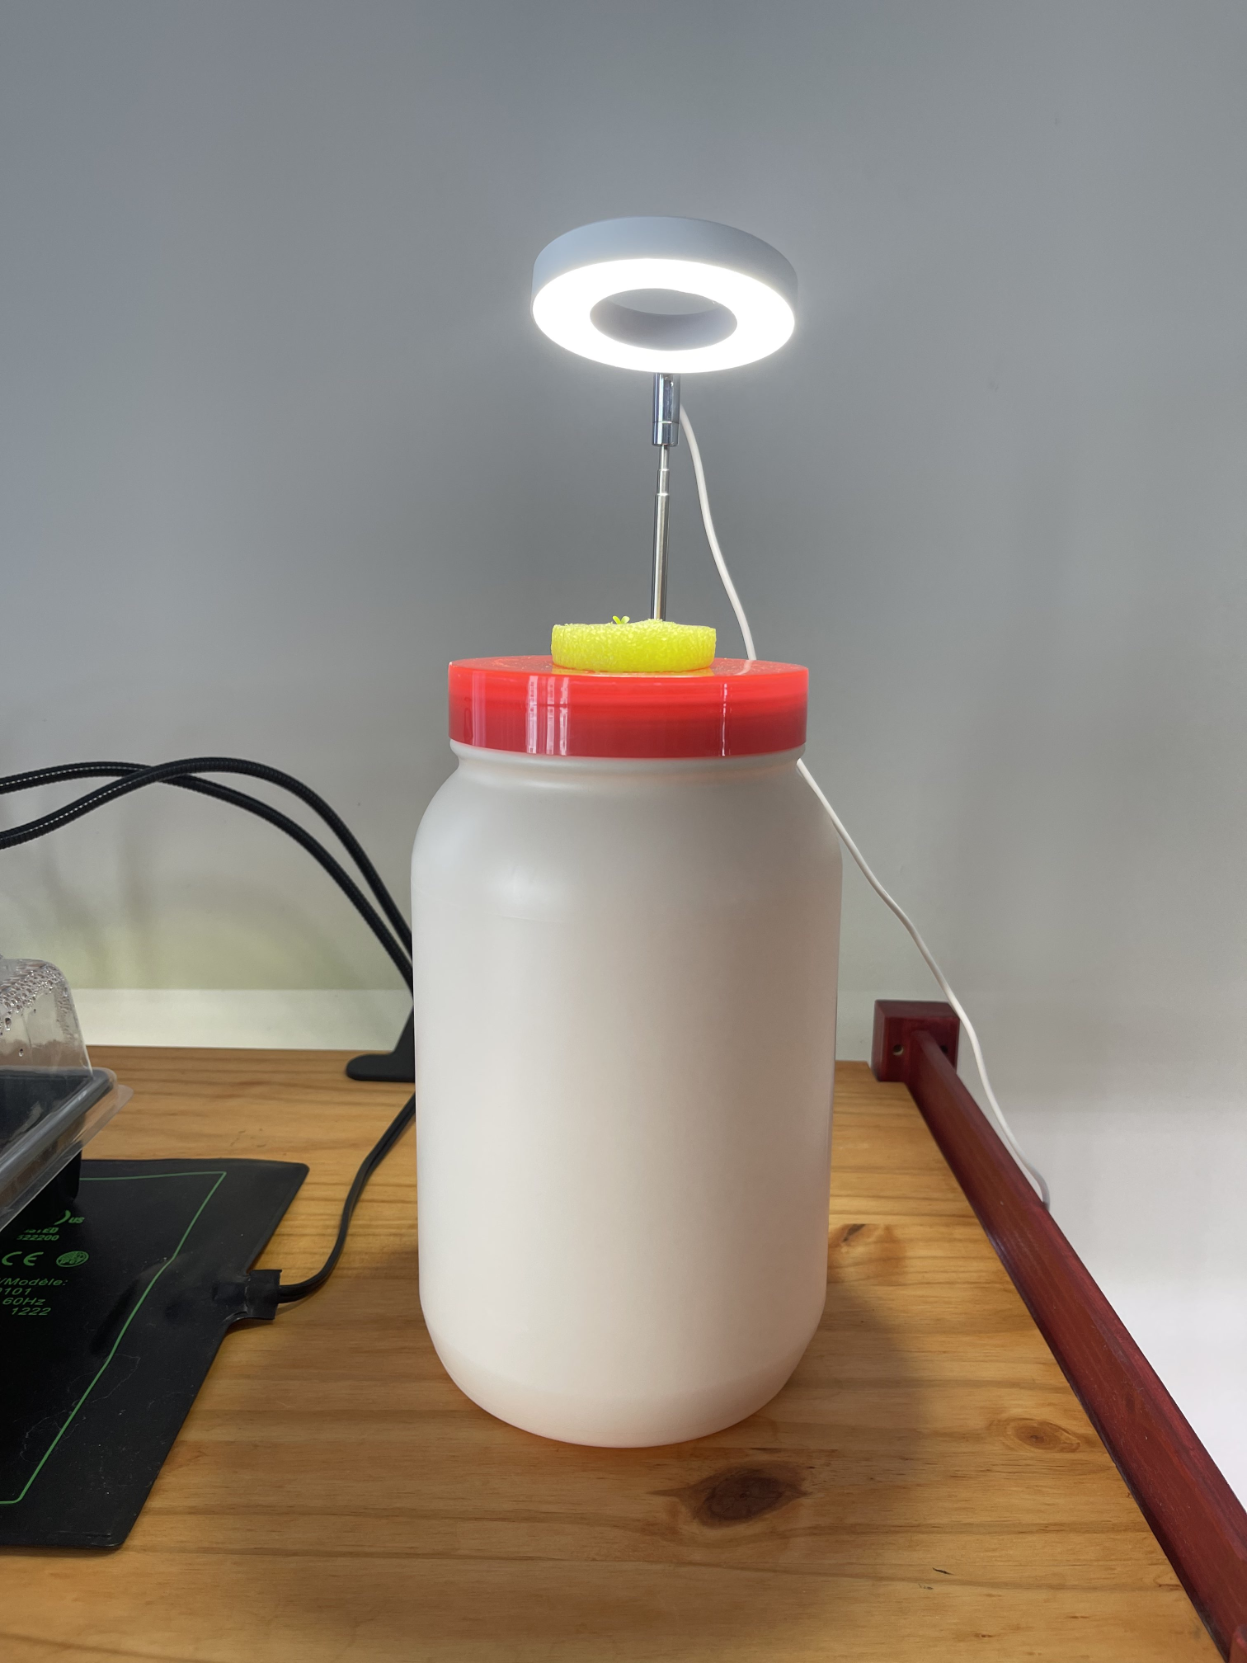
My proof-of-concept "Single-Unit Hydroponic Grow Bin".
I don't know if it will work. Follow this thread (for the next three months maybe) and grow with me... maybe... or just watch it fail... :P
The goal of this grow-bin is to be:
Exceedingly cheap (This comes out to around $11 a unit - reusable - and that's mostly the light. Each additional growth will only be a couple of cents per plant).
Exceedingly easy to make.
Have as little moving parts as possible.
Require as little maintenance as possible while the plant grows.
Not require any special space, set-up, or shelving.
Be able to stick anywhere you have a couple of inches of spare room indoors, even if you live in a very small amount of floor space.
Be powered by wall socket or by external USB battery (for folks that are charging USB batteries with solar cells).
If you want to grow more plants... make more of these grow bins and add them wherever you have juuust a bit more space.
This answers the obstacles of hydroponics being portrayed as requiring an expensive startup cost, having dedicated or expansive space for hydroponic growing, require special or complex equipment, or special knowledge and skills.
AND IT'S ADHD FRIENDLY!!!!
Start growing whenever you get around to it. Doesn't require following growing seasons.
Once you start growing, you can forget about it until it's done growing.
Note: This is an experiment. I don't know if this will succeed. But! I plan on tweaking it and correcting any issues as I test it out. So... I'm not showing you a finished product. I'm showing you the design and test phase. Maybe we'll get a finished product out of the end of it!
(Thread continues and will be added onto. Bookmark and check back every couple of weeks. - The next section will go into how to build this.)
Ok, the next couple of posts will be a guide on building this thing.
Note... this is a prototype build for testing. I don't know how well it works, if it all... I imagine the final builds will change a bit from this. If we get something working, then I'll document it in a more permanent location.
Okay!
So! We start with a gallon container:
It should be a gallon or a little over a gallon (3.75 to 4 litres)
Should be food safe plastic
It should be fully or as close to fully opaque as possible (so as to discourage algae growth)
I also want it to be VERY CHEAP!
So I'm using a protein-powder bin that I took out of the trash....
You could use a milk jug, or buy 1 gallon buckets for $1 off ali-baba. Or just ask your friend that drinks protein shakes a lot for bins that they just throw away. Big thing is... use what you got. We ain't going expensive here.
Once you have a bin, make a hole in it. I'm using a 2-inch circular hole drill bit.
See pics:
Next sort out how you're going to hold your plant in.
I like the whole pool noodle thing. (Cheers Mike VanDuzee!!!)
You can grow your seedlings or microgreens and transplant it over. I'm going to use rockwool. Rockwool costs about 7 cents per cube, so that's "expensive". You can use whatever method you like.
My goal in this test is to see if I can just plant the seed RIGHT in the grow bin without a separate need to germinate the seeds. This might not work. If it doesn't work, I'll seed/germinate it separately and then move it over. I'd still probably use rockwool as I know how to use that right now. Later on, I'll find a more sustainable method of growing.
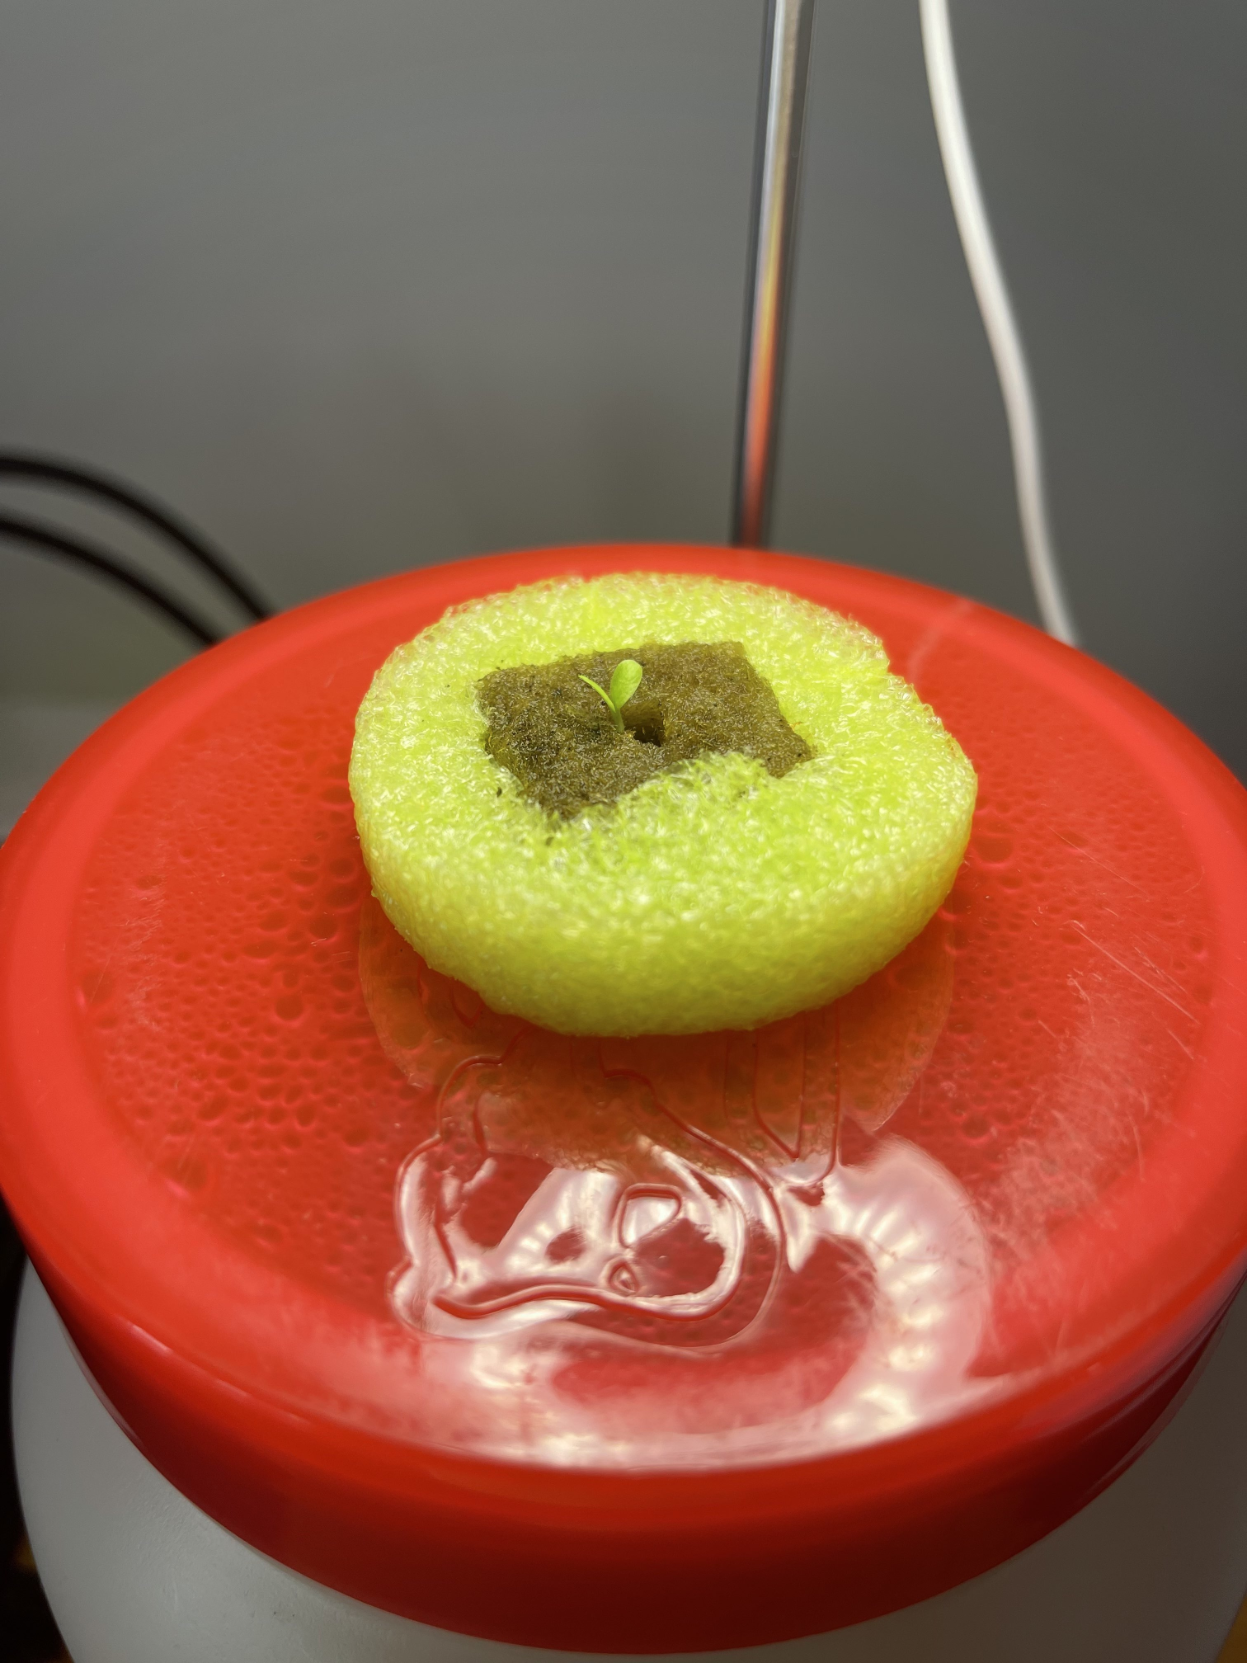
I cut an inch ring out of a pool noodle (a whole pool noodle cost about a dollar at Lowes). I then cut a square out of the center. This fits the rockwool perfectly and let's a bit of the rockwool hang down into the water.
I then put the rockwool/pool noodle into the 2inch square. Fits perfectly.
Next, attach the grow light to the back of the bin. This particular grow light cost about $10. Has a timer on it. And can extend up. Start it close to the opening and then extend it as the plant grows.
I just attached it to the back of the bin with duct tape.
Note it's USB powered, so you can plug it into the wall socket but you can also plug it into an external USB battery if you're doing a solar powered cell charge battery situation.
Measure out a couple cents worth of nutrients. I'm using the MasterBlend 4-18-38 found here: https://www.powergrowsystems.com/collections/masterblend-fertilizer-4-18-38-and-more-exclusives-to-powergrow/products/masterblend-4-18-38-fertilizer-master-kit-bulk?variant=40214393166
Pour water to the top, move it to the location you want, and then add the seeds to the top!
Note, the water might squeeze/squirt through the rockwall if you squeeze the bin. As such, I recommend adding the seeds last.
I plant two seeds at a time in hopes one of them sprouts. If both sprout, you can just remove one and let the other stay.
I'm using open-pollinated non-hybrid seeds so that they produce more seed in the future.
The idea is that one seed can produce a plant that produces thousands of seeds, so if you're running out of seeds, let one of your plants go to seed. Yay infinite seed hack!
Incorporate this with a local seed library and everyone has free seeds!!! Yay!!!
Alright! That's the build.
I've planted a couple of seeds directly into the bin. I'm not doing a separate seeding / germination / microgreen growing and then moving it over.
Let's see if it takes!
If it doesn't, I'll remove the rockwool, let it germinate and then move it back in after it's got an inch or so of roots.
I'll update in a couple of days if I see a sprout growing!
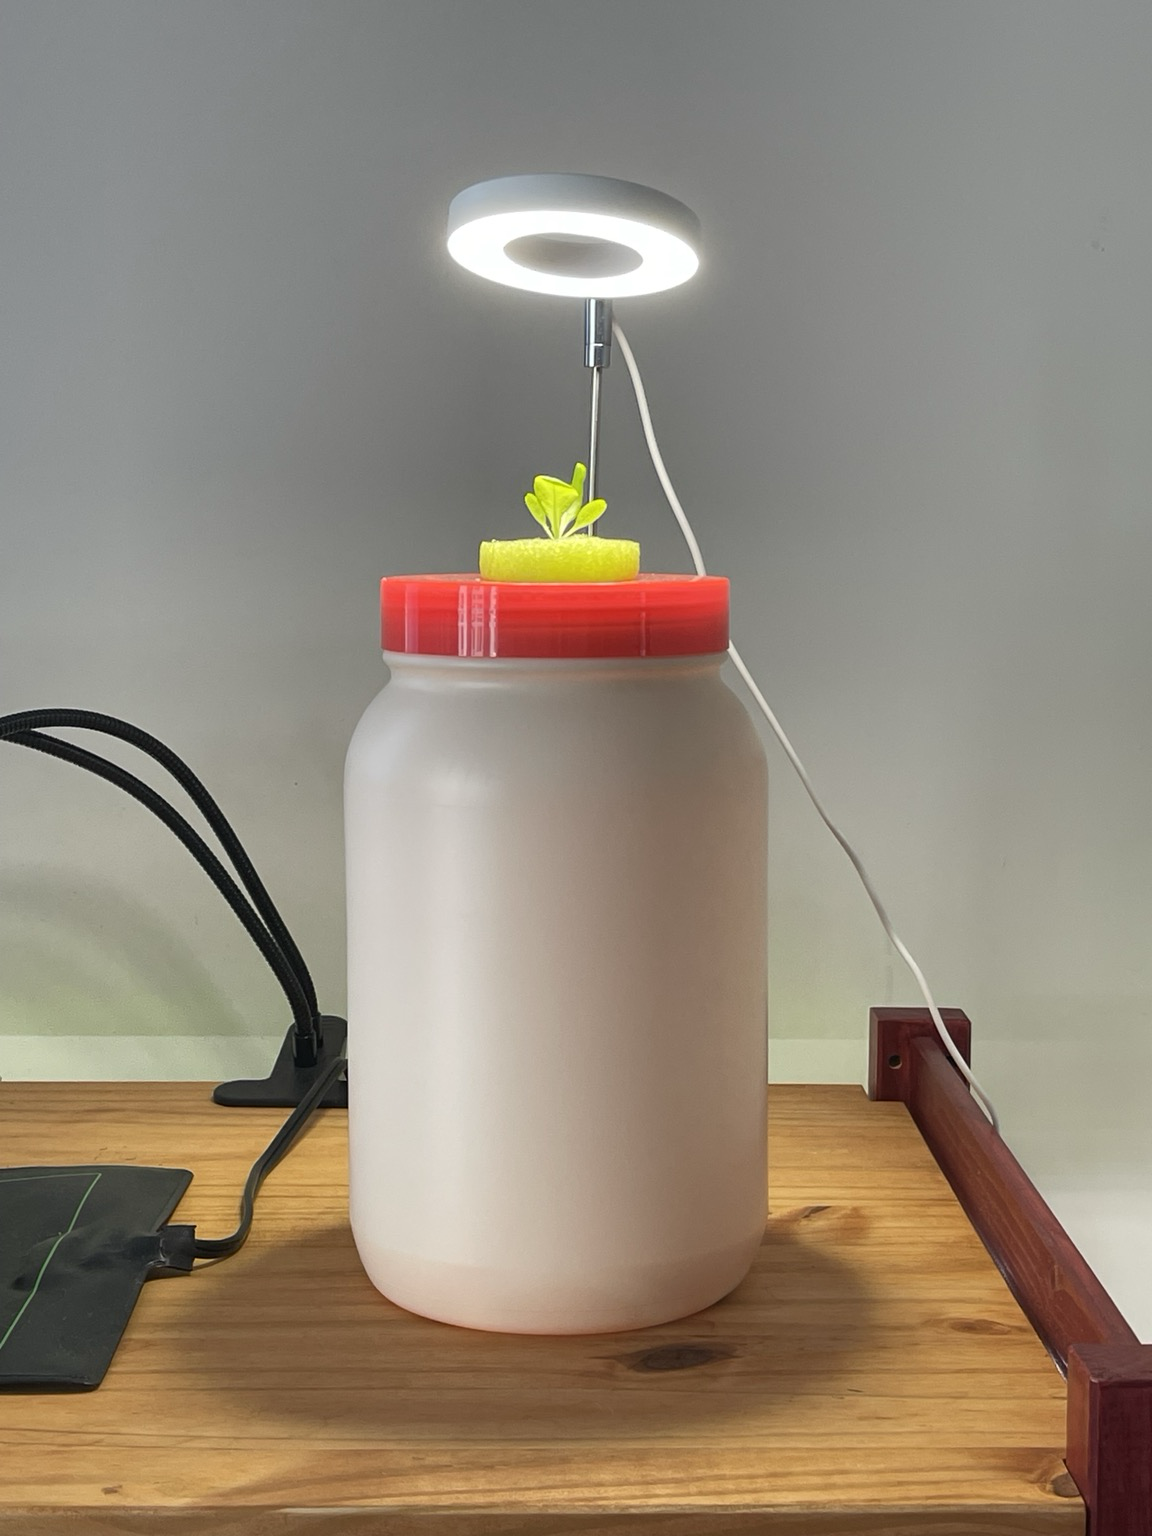
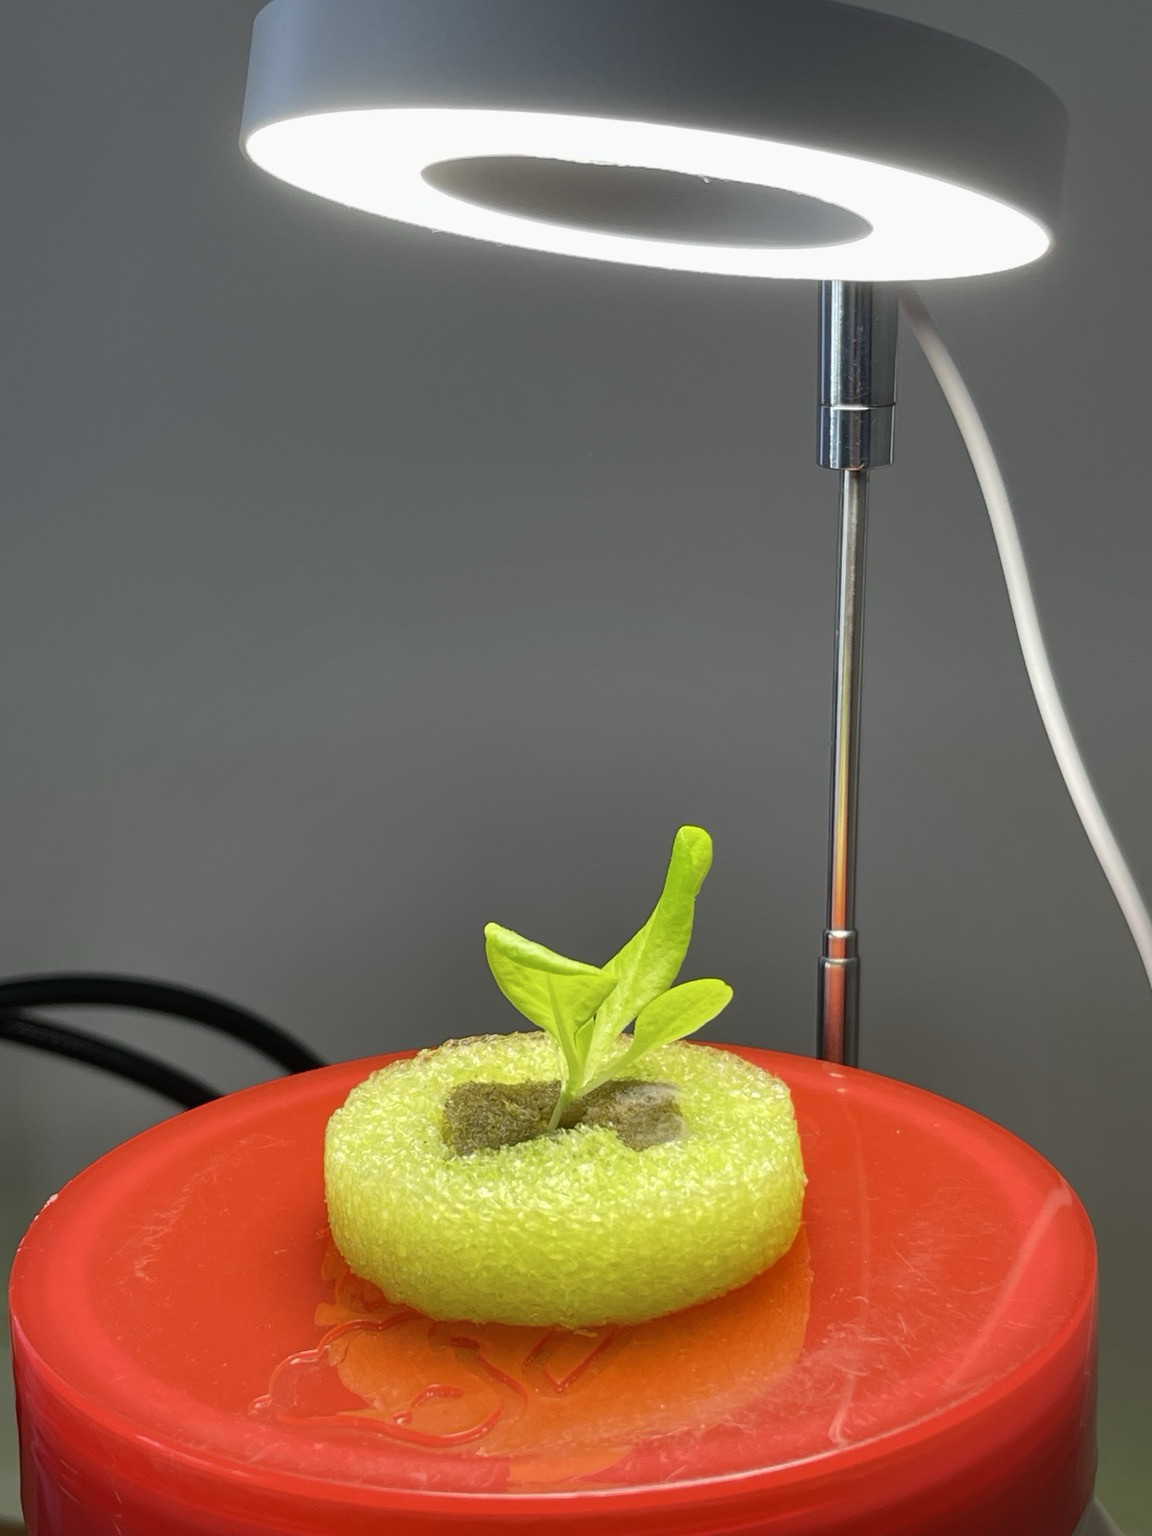
Ok! It's been three days and the seed has sprouted!!!
This is important. It means that you don't need to germinate separately. You can just plant the seed right into the grow bin and let it germinate on it's own.
As a reminder, I have done nothing to this plant since I set it up. I made the bin, put water/nutrients in it, turned on the light once and set it to automatically turn on and off in 12hr increments.
Planted the seed and haven't touched it since.
(See full thread for build instructions and goals).
Next we'll see if it develops roots and starts drinking the water!
#solarPunk #indoorGardening #hyrdoponics #urbanFarming #ADHD #ADHDFriendly
Weekly update on my single plant bin project (see thread for details and build instruction):
More growth! No roots below the rockwool yet, but the rockwool hasnt dried up. Still hands off! Haven't touched it since I've set it up!
#solarpunk #hydroponics #indoorGardening #urbanFarming #ADHDFriendly
Weekly update on this individual grow bin (see thread for build instructions and progress pics).
Made it out of a reused protein powder bin.
Planted the seed directly into it, poured in nutrient water, set the light timer...
...and havent touched it since.
Thing only has a six inch base and is completely modular. The light goes with it. Put it anywhere you have a tiny bit of space.
It's got about an inch below the rockwool and into the water.
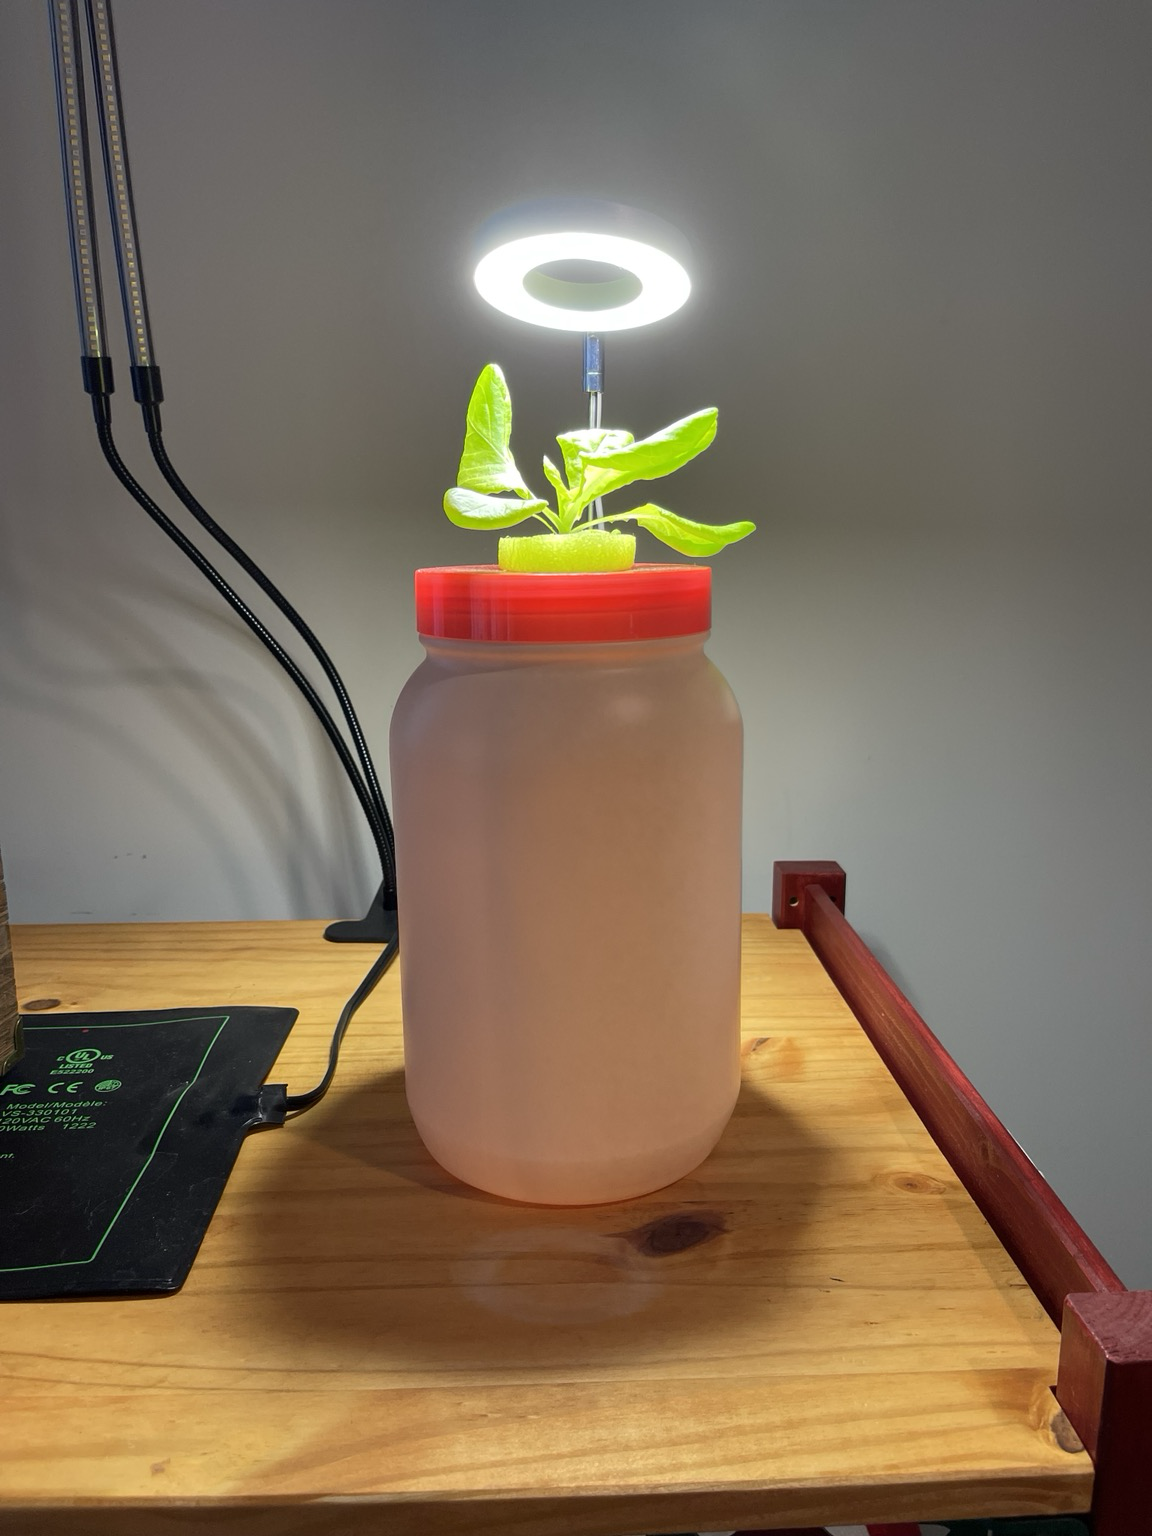
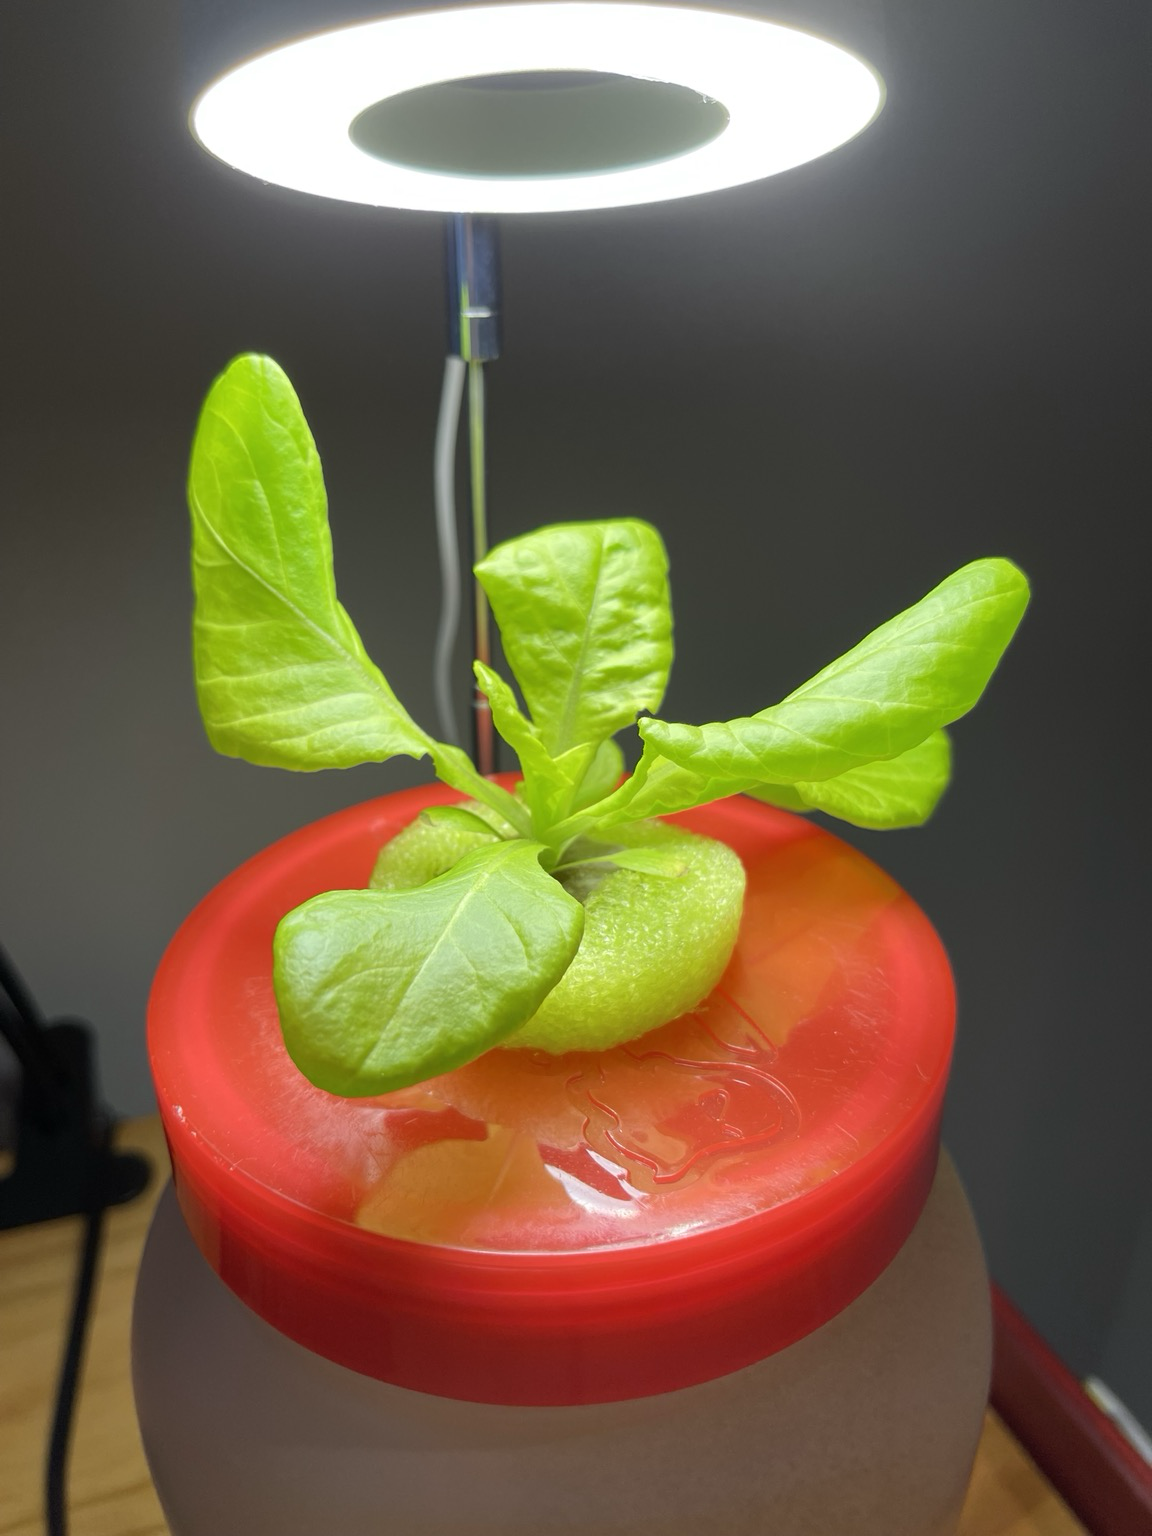
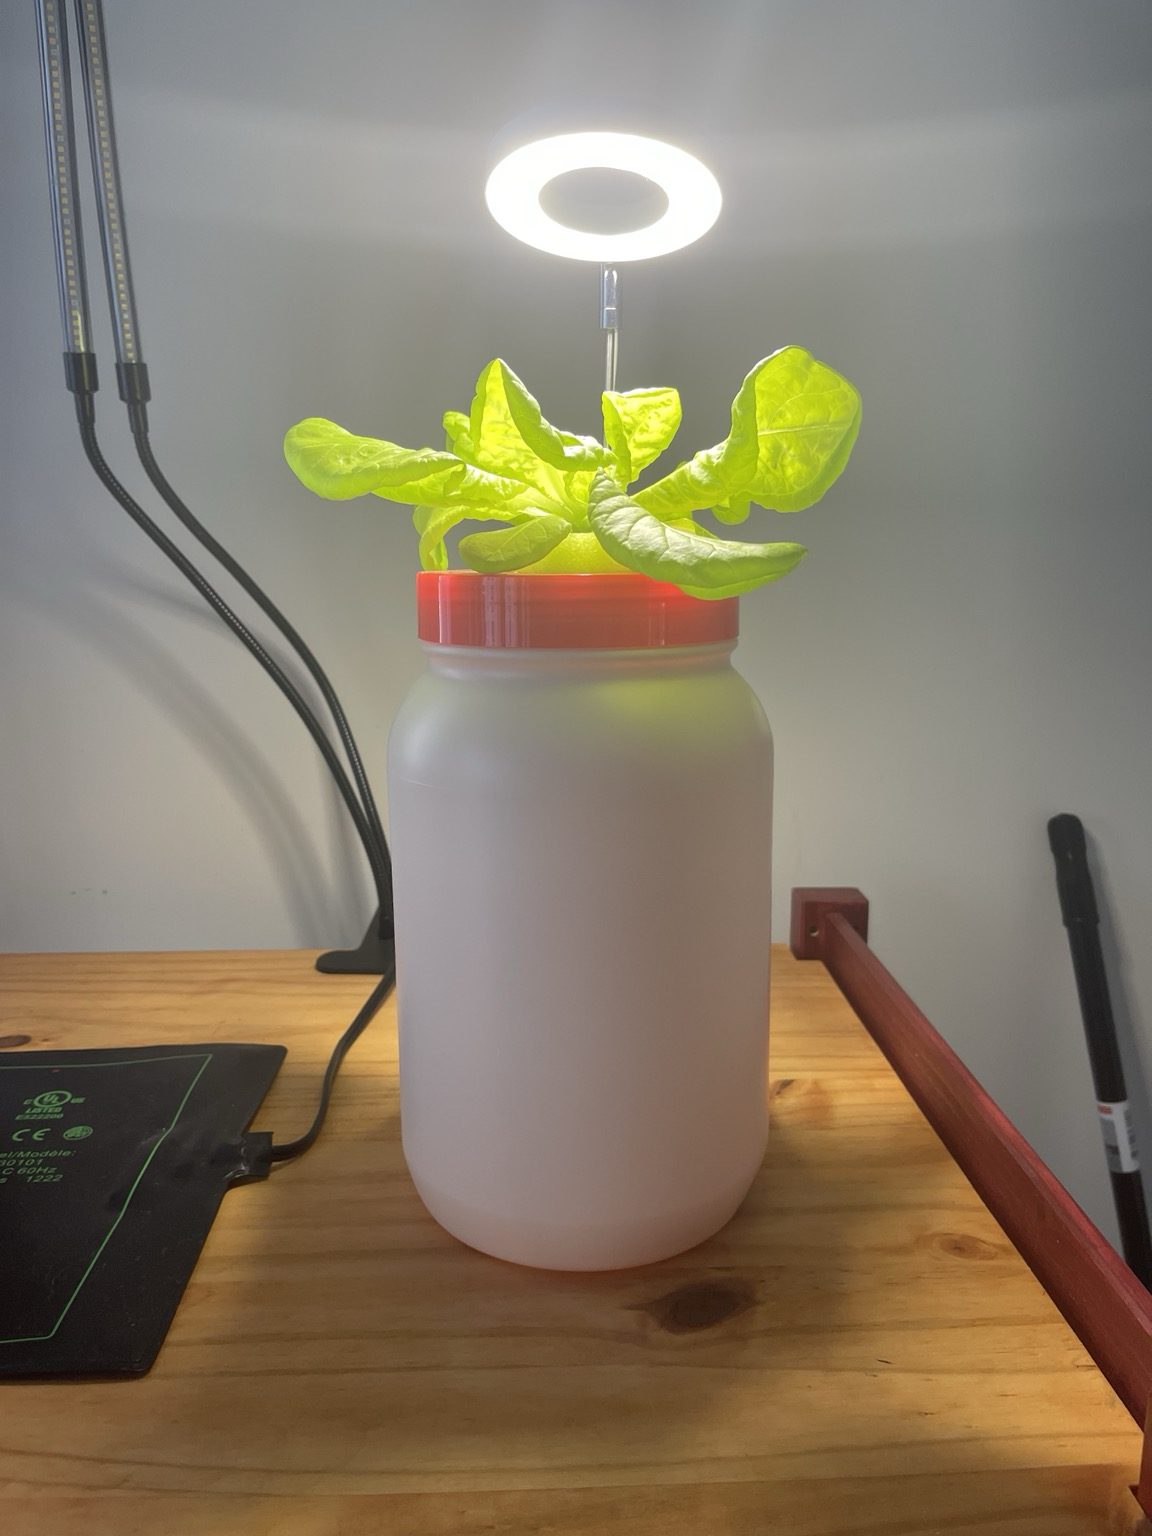
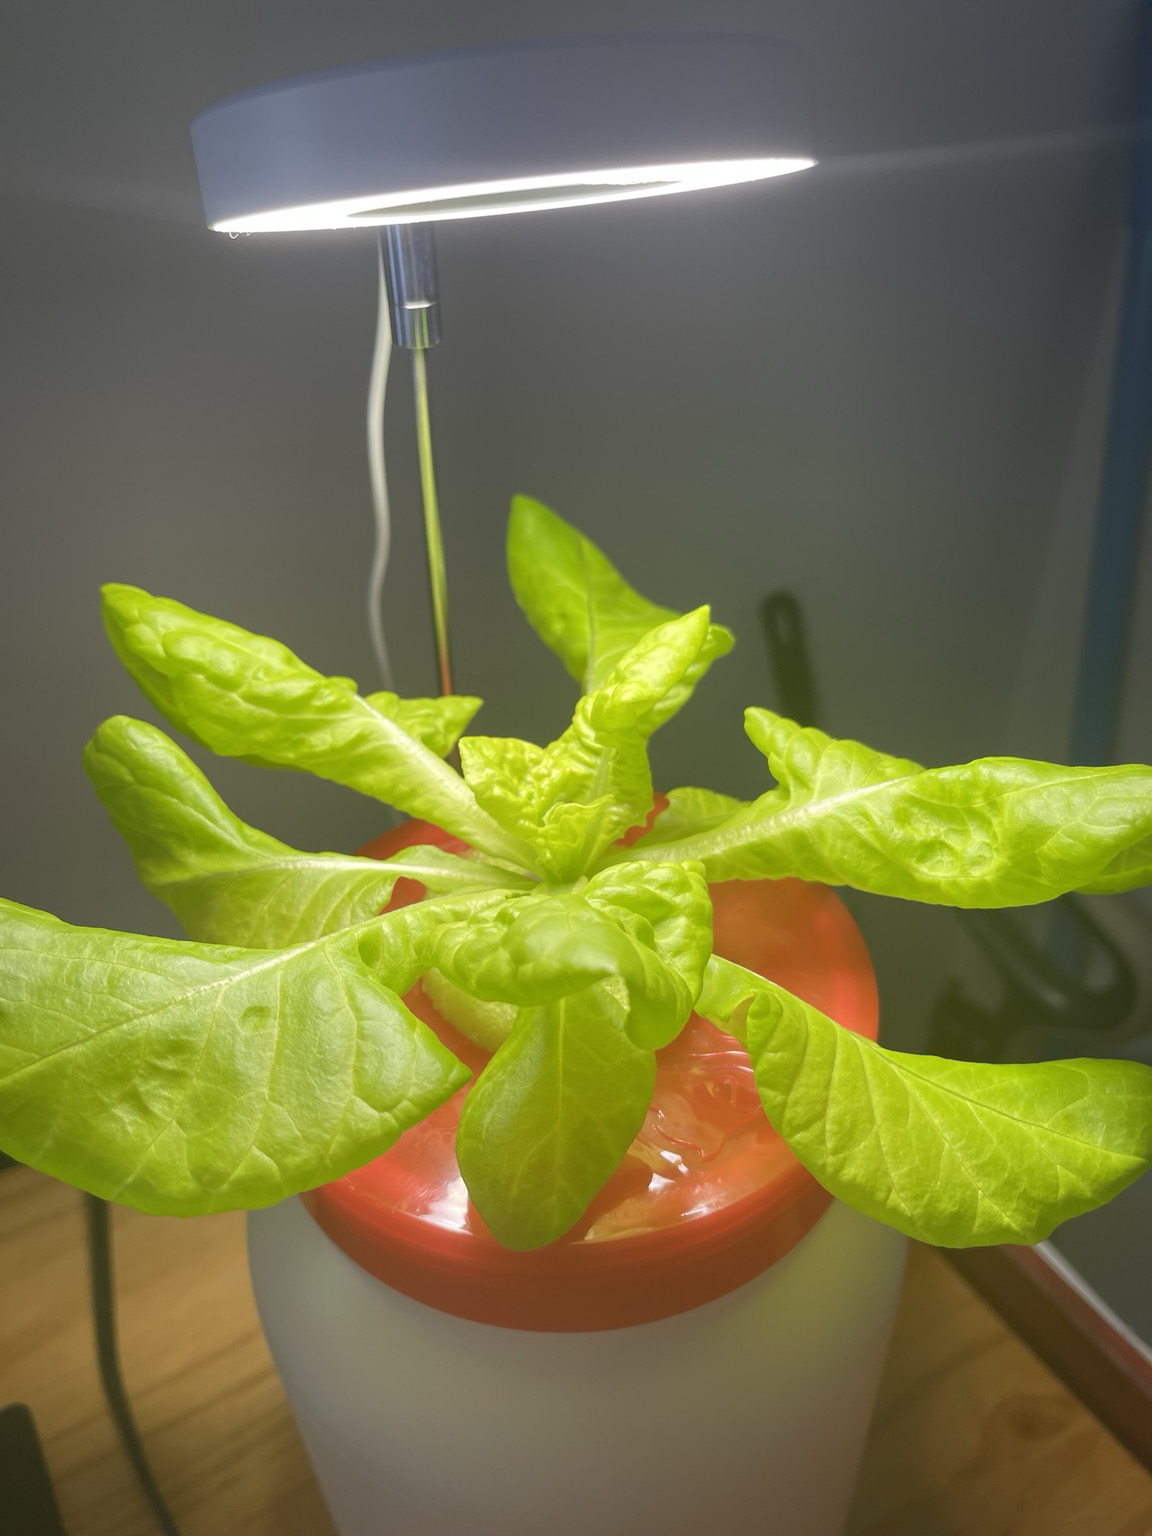
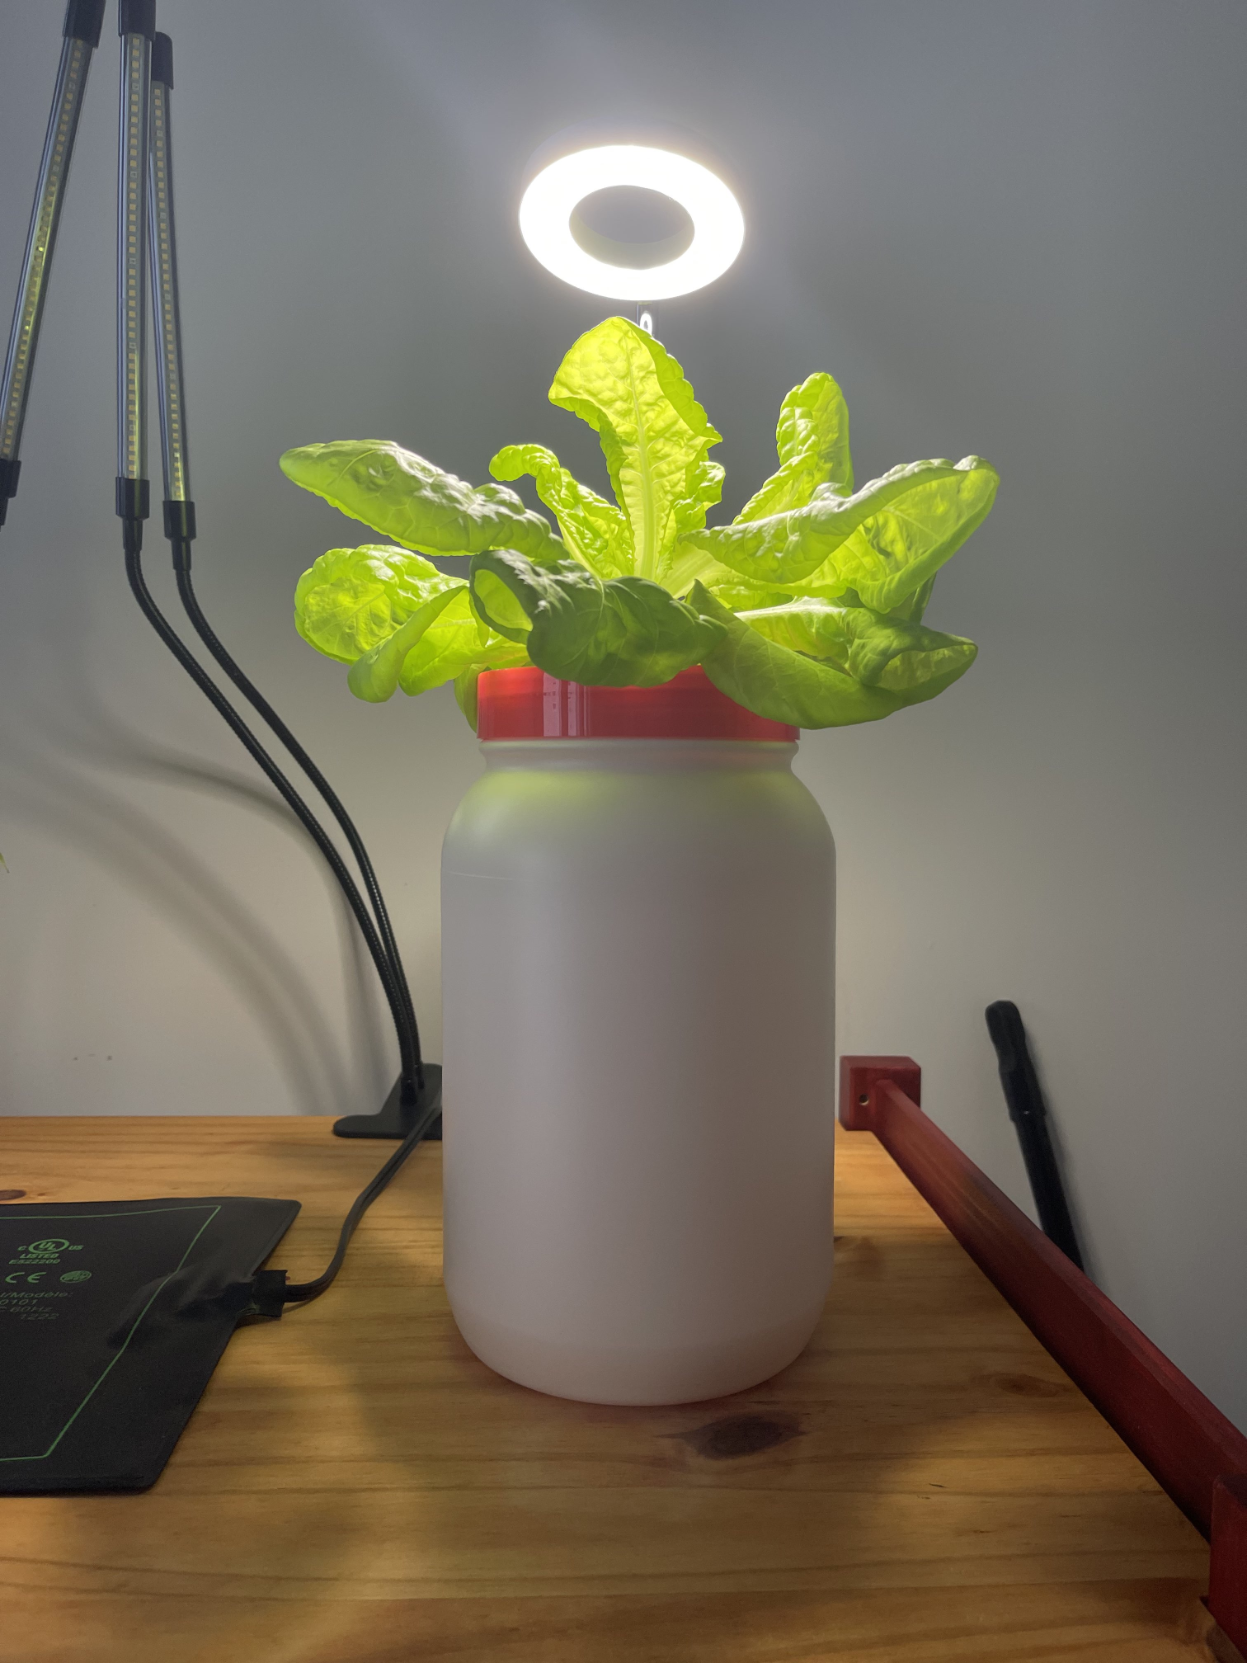
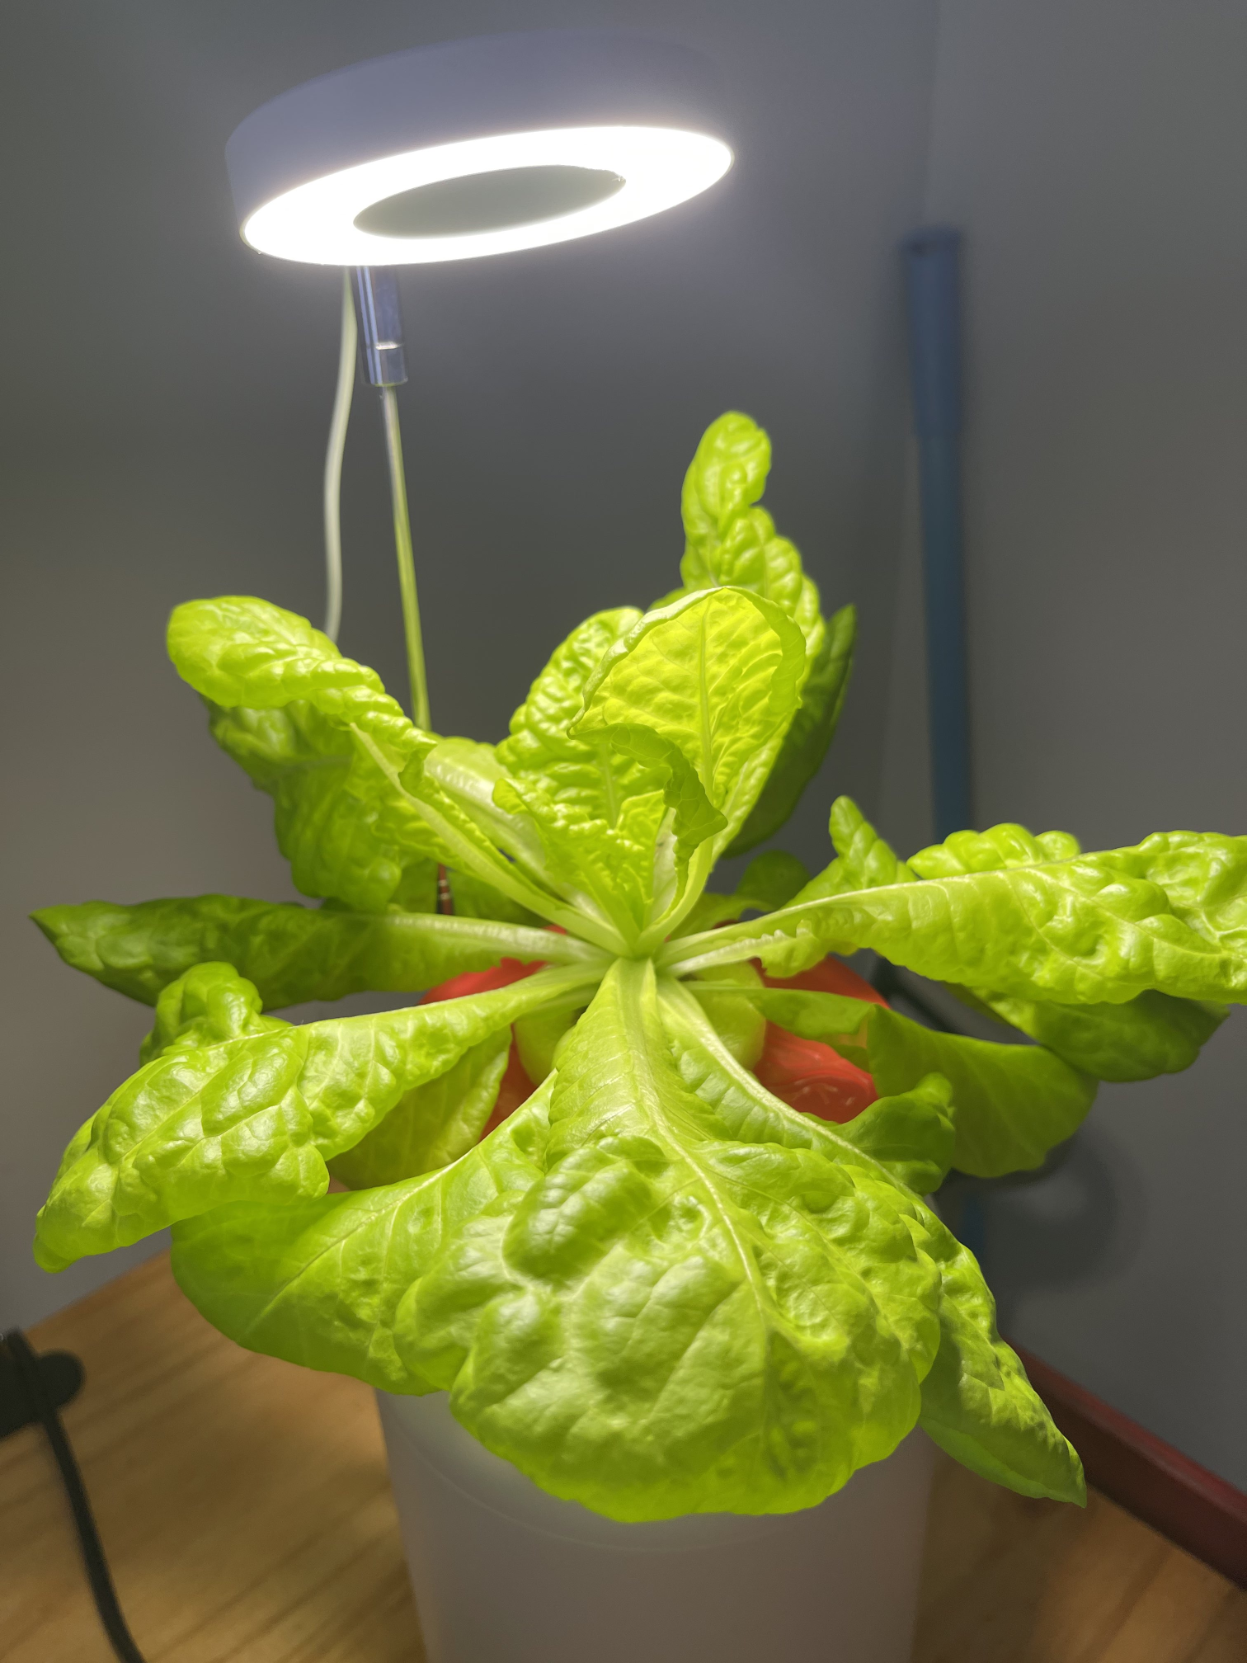
Weekly update (about 4wks since sprouting) on this grow bin.
See thread for build instructions and progress pics.
Still coming along nicely and as anticipated. Still hands off, passive, and automated.
As the plant continues to grow I'm watching to see if this halo light provides enough light for the fully mature head of lettuce. Every piece of this system has worked as anticipated (hoped for?). The light has been good so far. Here's seeing if it continues to do so!



As one of the experiment goals is being cheap, I wonder how much electricity it requires.
On the other hand, If the lamp is used for room lighting too, the real cost may be much lower.

@jgg - It's a 10watt LED full spectrum grow light. I keep it on a 12hr on/off cycle.
You certainly could use it for room lighting as well! That's a solid efficiency there.